Translate

Tuesday, November 20, 2012

Pie Crust - Part 1


Well, logically, the next step in pie-making is the crust.  I think the store-bought crusts in the long package, all rolled up, are good.  They really are.  But homemade crust is in an entirely different universe.  It's that much different and that much better.  We don't always have time for it, but it's great, when we do.  Here's the recipe for 4 crusts, total (for 2 double crust pies or 4 single crust pies):

4 cups all purpose flour
1 t. salt
2 c. butter, frozen in 1/2 c. amounts
abt 2 cups water with ice cubes floating in it


Whisk the flour and salt together.


Open one of the cubes, leaving some paper on the end, to hold onto.


Put a piece of waxed paper down on your work surface and sprinkle some of the flour mixture on it.


Using the large hole side of a shredder, shred the butter, one cube at a time and add it to the flour mixture.


Toss the butter with the flour mixture.....


using two forks....


and working quickly and lightly.


Add the water using a 1/4 c. measure (don't add the ice cubes), tossing with the forks until it starts to come together.  


Knead the dough in the bowl.  It will be sticky and rough, but don't handle it too much.  Just so long as it holds together, sort of.


Turn out onto a floured piece of waxed paper.....


and cut into 4 pieces.  Round each piece up into a large patty, wrap in plastic wrap and refrigerate for at least 1 hour, to rest and chill.

More to come, friends.  Just hold on.


Monday, November 19, 2012

Pumpkin Pies - But, First, the Pumpkin!

We had two good-sized pumpkins left after Halloween that we saved for Thanksgiving pies.  We cut them in half and, then, in eighths and cleaned them really good, scraping out the strings and seeds.  You can save the seeds, clean them, soak them in salt water and dry them for eating.  We didn't do that this year but we've enjoyed them in years past.


Here they are, all ready for the pot.


Some, I put in my big roaster and into the microwave for 25 minutes, covered.  

I had about one inch of water in the bottom of the pot.


 Most of the sections went into the oven, in three roasting pans, covered tightly with foil except for a little spout in the front, where I poured in about one half inch of water with my tea pot.


The ones in the oven took about 45 minutes at 350 degrees F., to become tender.  When you can pierce them effortlessly with a skewer, they're done.


They're very hot, so be carefull.


I lifted them out to a plate with a big plastic spider.


Scrape them along the ribs....


putting the scrapings in a big bowl.


Here's one section all cleaned out.


The pumpkin filled the bowl about half way up.....


and I used a hand-held blender to make the puree very smooth.  Fresh pumpkin can be a little grainy without the blending.


Out of the two pumpkins, I have enough puree for 15 pumpkin pies.  That should keep us through the winter, don't you think?

My favorite recipe is the one that's on the Libby's pumpkin can, which you can find HERE.

We share as much of our food as we can, this time of year. We know a family that likes and needs to have help this way, so they are the recipients of all we can find that is extra.

Saturday, November 10, 2012

Bread - The Staff of Life

We've been baking our own bread for years.  I've worn out three bread makers, so far.  Sometimes I make the bread in the Kitchen Aide.  I make the Easter Challah that way; but our everyday bread, I mix in the bread maker and, then, make the loaves, myself.


I'll give the recipe at the end of this demonstration on loaf-making.  I like to use the bread maker because it makes a very moist bread.  Here, you see the dough all risen, for the second time and ready to be made into loaves.  If I baked this in the machine, it would make a 2# loaf of bread.  We like smaller loaves.


Since it's such a soft dough, I'm liberal with the flour to keep it from sticking.


I turn it once in the flour, then cover my fists with flour and.....


flatten the whole thing, getting all the air out.


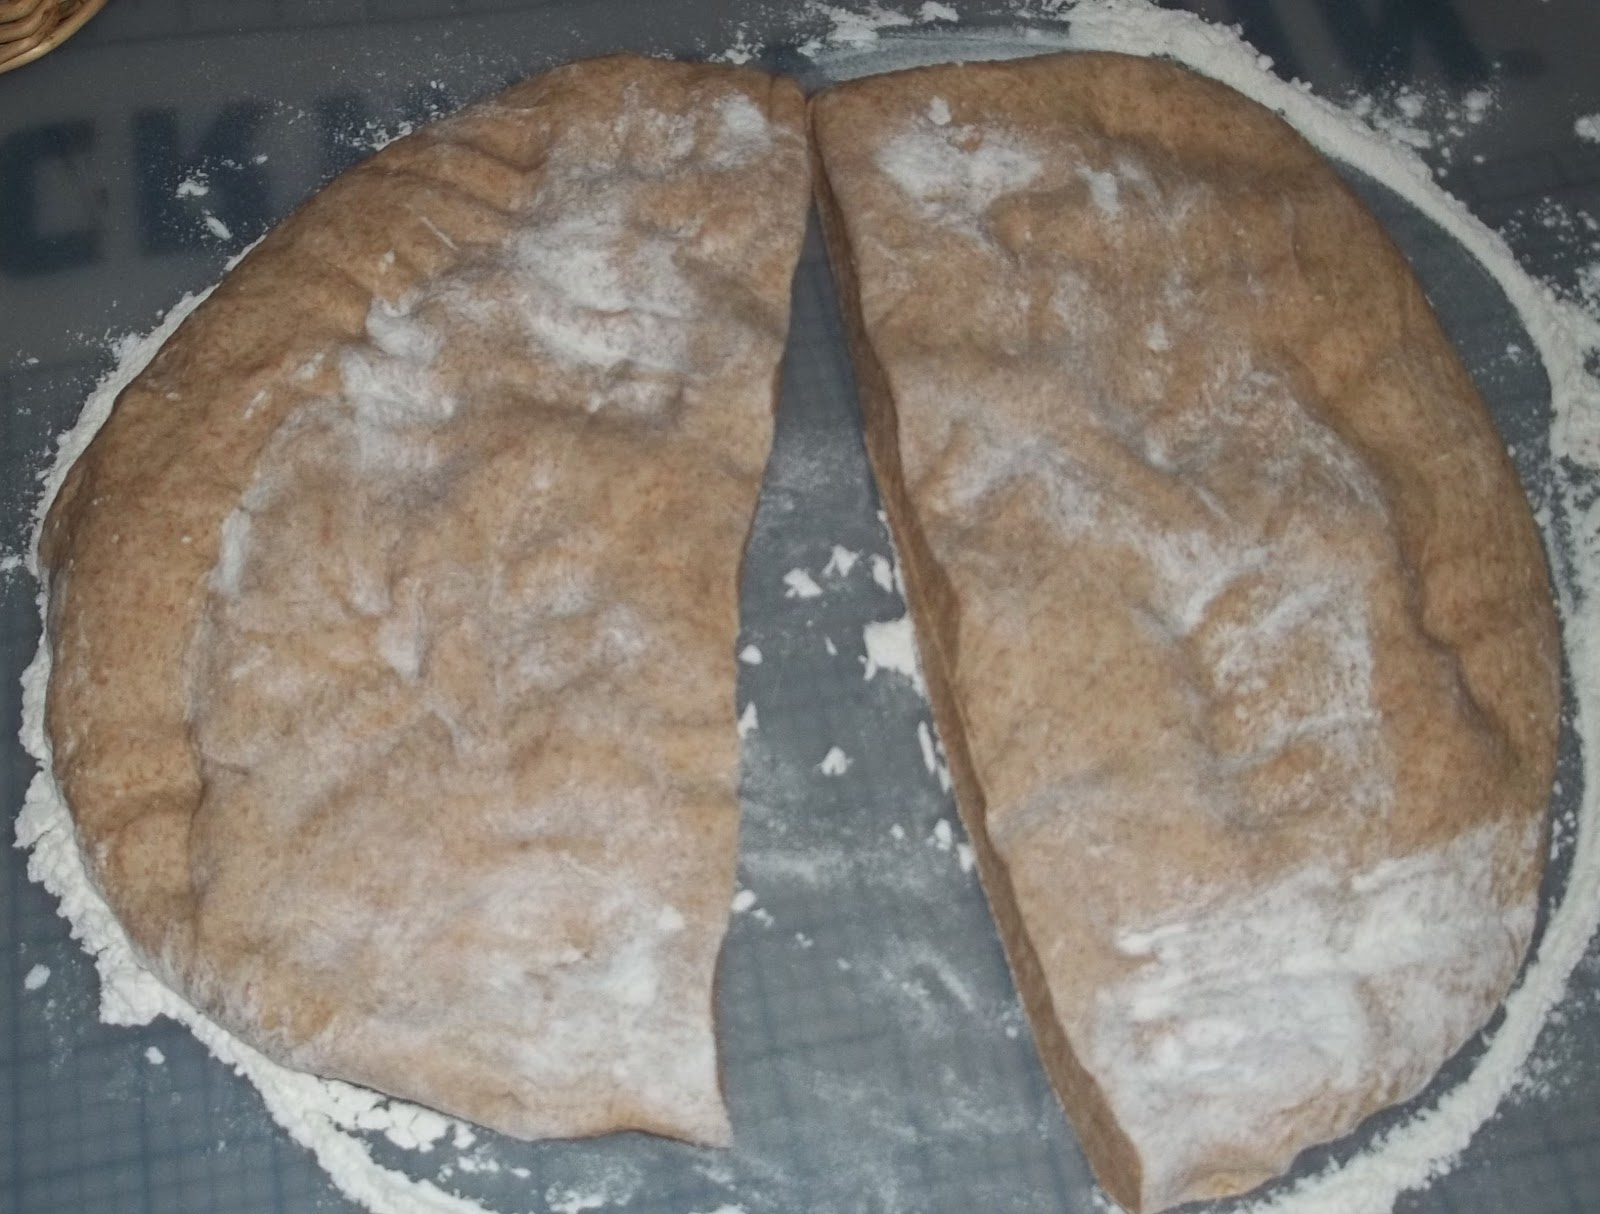
I cut it in half and put one half aside.


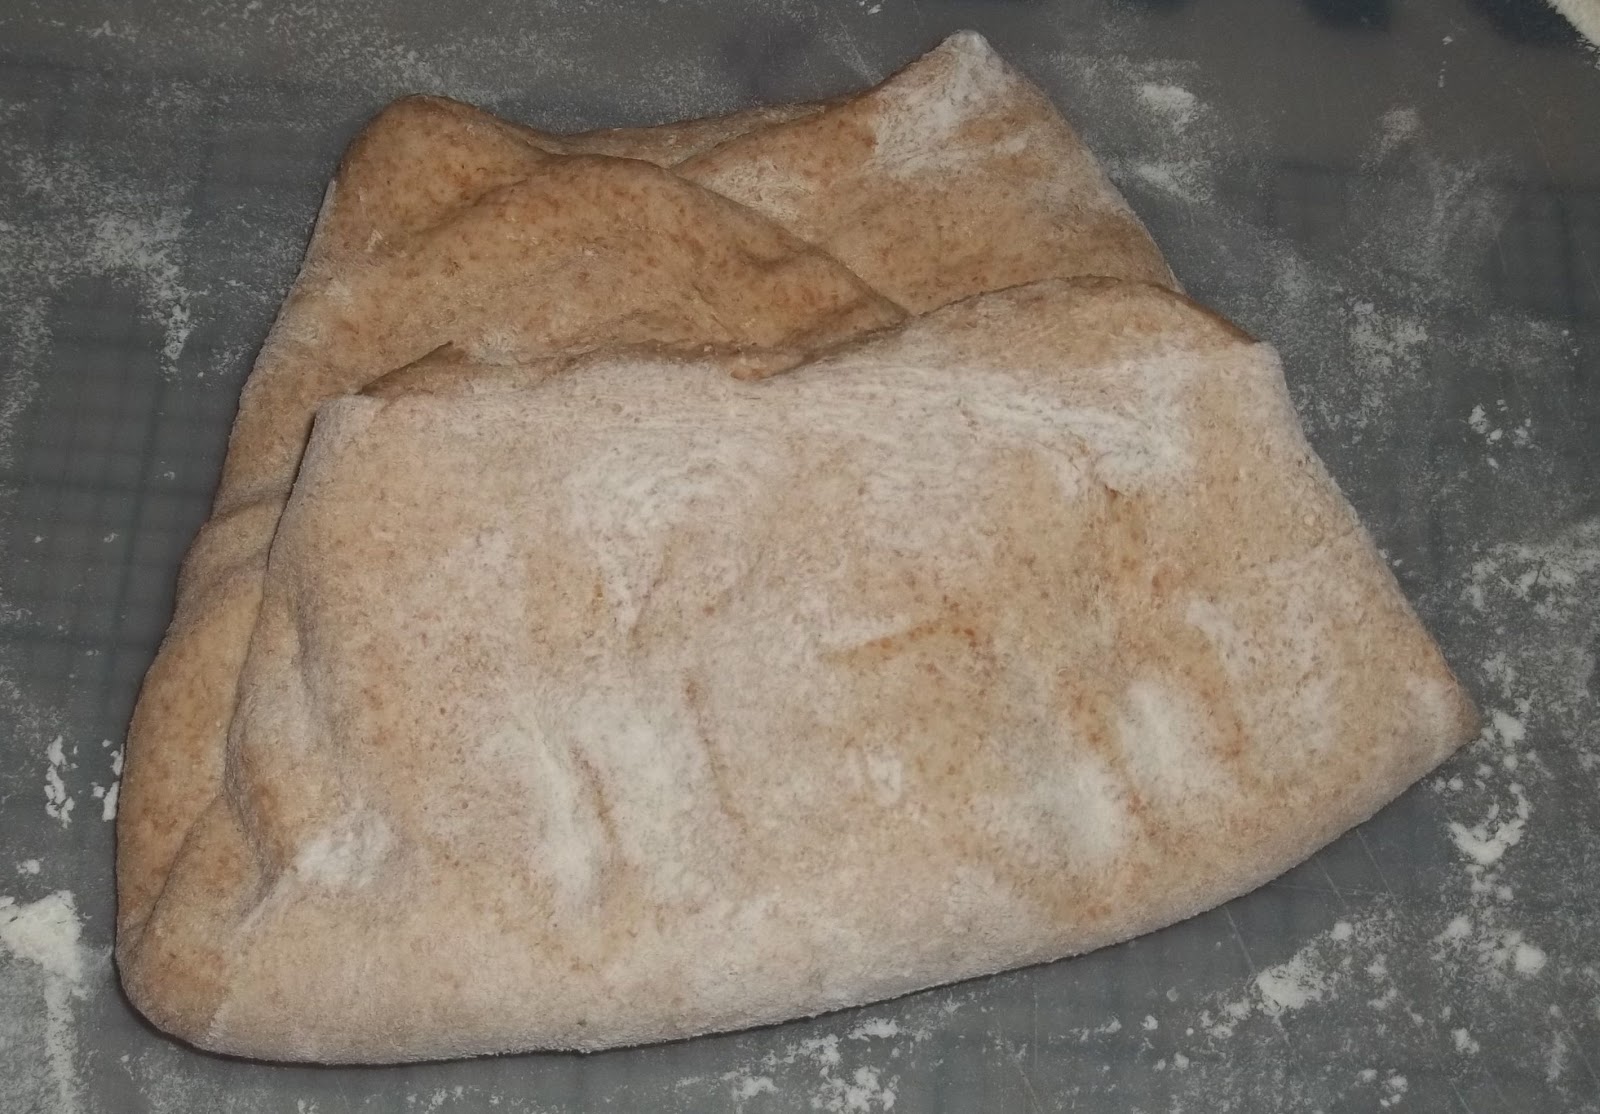
With the first half, I fold it about 3/4 up and press it with my fist from the fold out, again, removing the air.


Turn the dough and fold the other side over, repeating the pressing.


Give the dough a 1/4 turn and fold in half.


Turn the dough and fold it the other way, pressing the air out each time.


Begin at one end and pinch the folds shut, keeping the seams on the bottom of the loaf.


Then, pinch the seams from the other end.


Turn the loaf over and place in a greased pan.


Here are both of the loaves.  One's a little more floury than the other, but that's okay.


There they are in their little "loaf beds" ready to rise.


I spray a piece of waxed paper and turn it, spray side down, over the loaves;  then, let them rise with a towel over in a warm place.


Here they are, all baked and buttery.  Yum.

Bread Recipe

Place in your bread machine or in the work bowl of your mixer:

1 3/4 c. tepid water
2 T. Butter, Oil or Margarine
2 T. Brown Sugar or Honey
2 T. Dry Milk Powder
2 t. Salt
1 1/2 t. Yeast

If you are using a mixer, mix together well on low.  (If using the bread machine, simply add all the ingredients together in the pan and follow directions to either bake or make dough.)

Mixer method:  Add 1/2 of the following flours and mix on low, scraping sides and bottom to be sure all is incorporated:

2 c. White Flour
2 1/2 c. Whole Wheat Flour

Continue mixing for 10 minutes on low to develop the gluten.  Pour the remainder of the flour out onto the work area and spread it out a little; kind of flat.  Pour the batter out on to to the flour.  Mix together well, with your hands and knead until all the flour is used up.  Turn the dough into a greased bowl and turn it once to coat the top.  Cover with a sprayed waxed paper and a towel to rise double in height.

Punch the dough down and make the loaves as shown above.

Bake at 350 degrees F. for 35 minutes.  Brush tops with butter after removing from pans.  Bread is done when the bottom is tapped and sounds hollow.


Thursday, November 8, 2012

For Our Veterans


I hope you will thank a Veteran this week as we look forward to Veteran's Day.  Send the video shown Here to a vet you know and love.

One of the best things we can do for ourselves and our country is to read and understand the US Constitution.  Please Click Here to read a copy of this important document.  And Click Here to join an online course to study the Constitution, FREE.

The Last of the Garden - Marinara Sauce

We're finally getting some really cold temperatures and I can't find anything else to pick, ripen, can or freeze.....except a few apples.

 The last tomatoes.....
 have ripened....
 and the last green and wax beans have been canned.

 We had a really nice garden this year that yielded all the beans, tomatoes, squash, and carrots we could use. I made some Marinara Sauce to can.  I cut up the tomatoes.....
and put them in a large stock pot over medium high heat with a cup or so of water in the bottom.

I used a head of fresh garlic.....

separated and peeled the cloves....

put them, one-by-one, in my handy-dandy crusher.....

like so....

and squeezed....and squeezed....

until they were all crushed....

nice and juicy.

I used the garlic with 2 T. sugar, 2 T. Italian Seasoning, 1/2 t. black pepper, 2 t. salt and 1/4 c. lemon juice in the recipe.

I covered the tomatoes until they started to cook, then.....

uncovered them and let them come.....

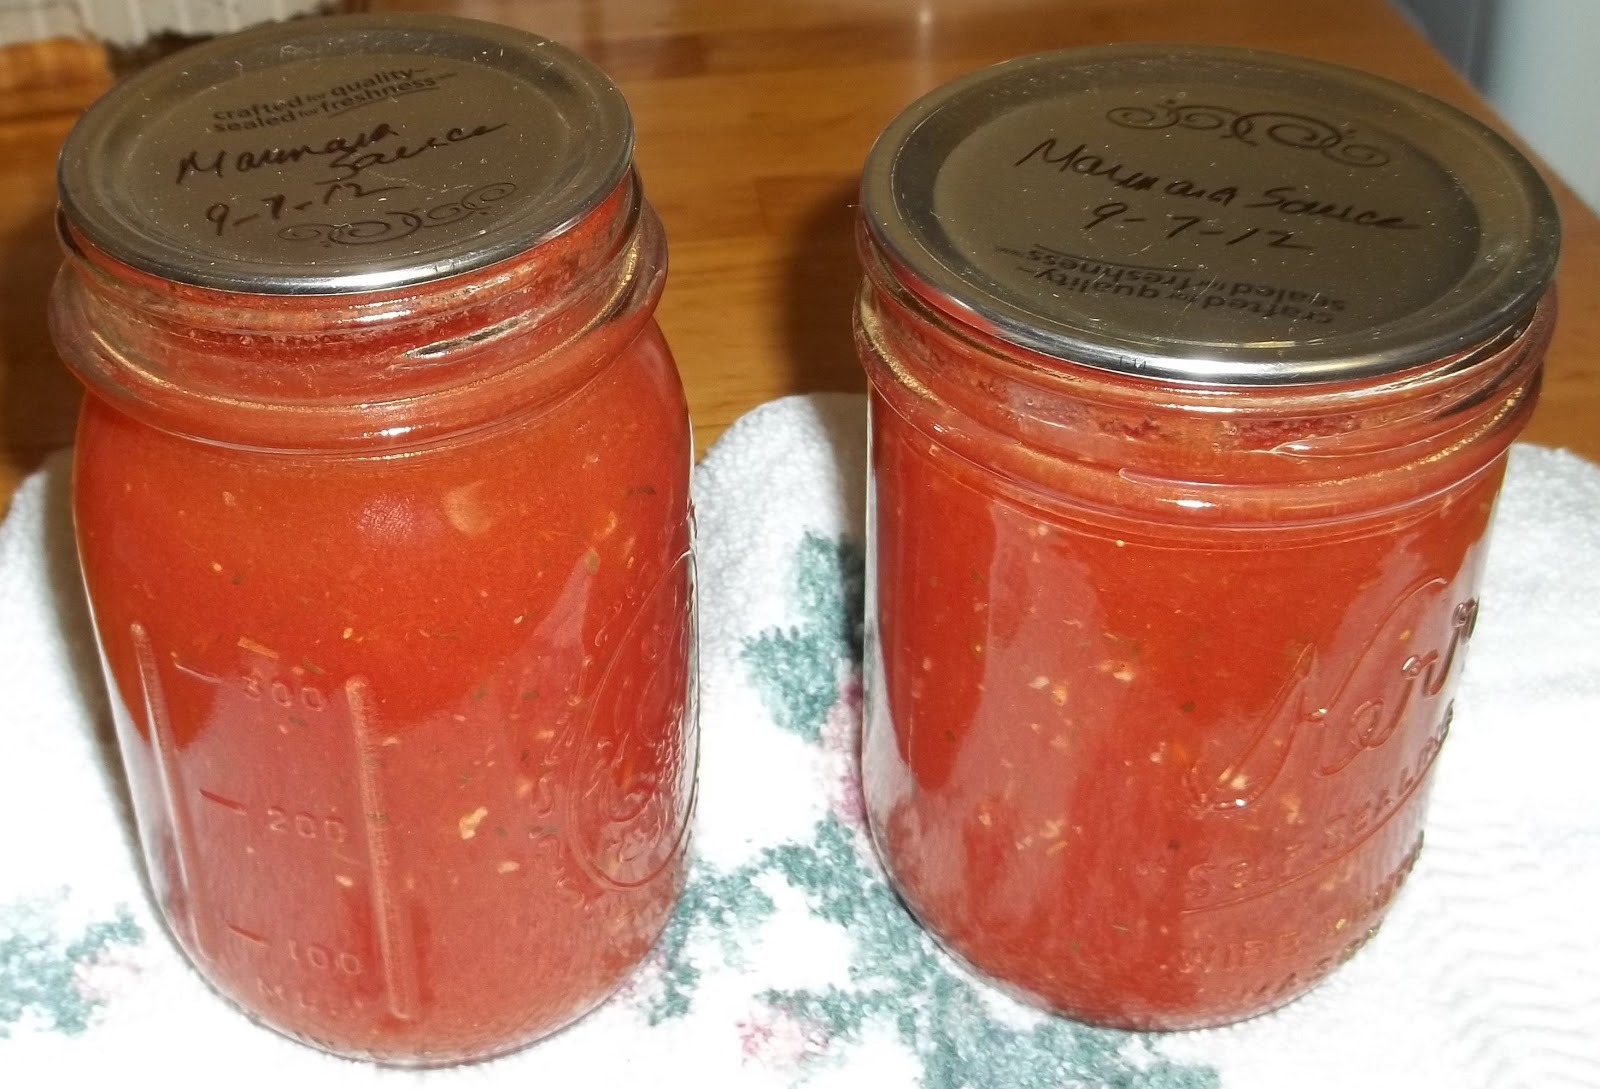
to a boil.  When they were all cooked a little and the juices were released, I put them through a machine to remove the skins and seeds (or you could use a ricer).  I mixed the salt, pepper, sugar and lemon juice with the sauce and put it back in the pot to reduce by about 1/3.  Then, I added the herbs and garlic and let it cook about 3 minutes, until the garlic was very fragrant.  I ladled it into clean pints and processed it 10 minutes in a boiling water bath.  Now I have some Marinara Sauce for my pantry.


In the hard times that might come this winter and in the future, you never know when you will need to rely on what's in the pantry.  Dried, canned or pouched foods are great, but canned fruits, vegetables and soups or stews are so little fuss when things are not quite ideal, weather-wise or money-wise.

Stay safe, sisters, and keep the home fires burning.  You are the center of the home universe!