Translate

Wednesday, November 28, 2012

Doin' the Turkey - One Last Time (for next to nothing)

Yesterday was the end of the turkey.   We paid 88 cents a pound for our 19 pound turkey this year.  That's a great price for good protein.  It fed our family for five meals.  

Additionally, we were able to put away 4 quarts of stock, 1 meal of Turkey Hash, 3 meals of Turkey Gravy and 2 meals of Deviled Turkey Sandwiches.  Fifteen separate meals from one turkey!  Here's how we did it.

 On Thanksgiving night, the bones and scraps were bagged up and placed in the freezer.  Here's how to turn those scraps into stock and the other leftovers into Quick Meals.

Making Turkey Stock


Remove the turkey from the freezer and place in a shallow pan.  Roast the bones and scraps in the oven at 350 degrees F., for about an hour, or until they are very brown.


  Place them in a large stock pot and pour a cup of hot water into the pan you baked them in.  Scrape up the brown bits and pour them into the stock pot.


Cover with water and


....heat.....


....to boiling.....


....then simmer, covered, for about two hours.

Making Turkey Hash

Meanwhile, from the remainders of the bird.....


  Turkey Hash made from leftover dressing.....


plus a matching amount of leftover turkey pieces, chopped small.....


plus leftover gravy....


mixed well.....


and ready to heat. 


Into the microwave for about 5 minutes....


covered.....stirred again....then cooled and put into the freezer for a future quick meal.  When preparing your Turkey Hash, be sure to heat it to at least 160 degrees F., before serving.

Making Turkey and Gravy

Another quick frozen meal from turkey leftovers is Turkey and Gravy.  Carefully cut up all the leftover meat.....


removing any small bones....


and bits of skin.....


mix altogether in a big bowl.  Then, depending upon how much meat there is, make a gravy.  
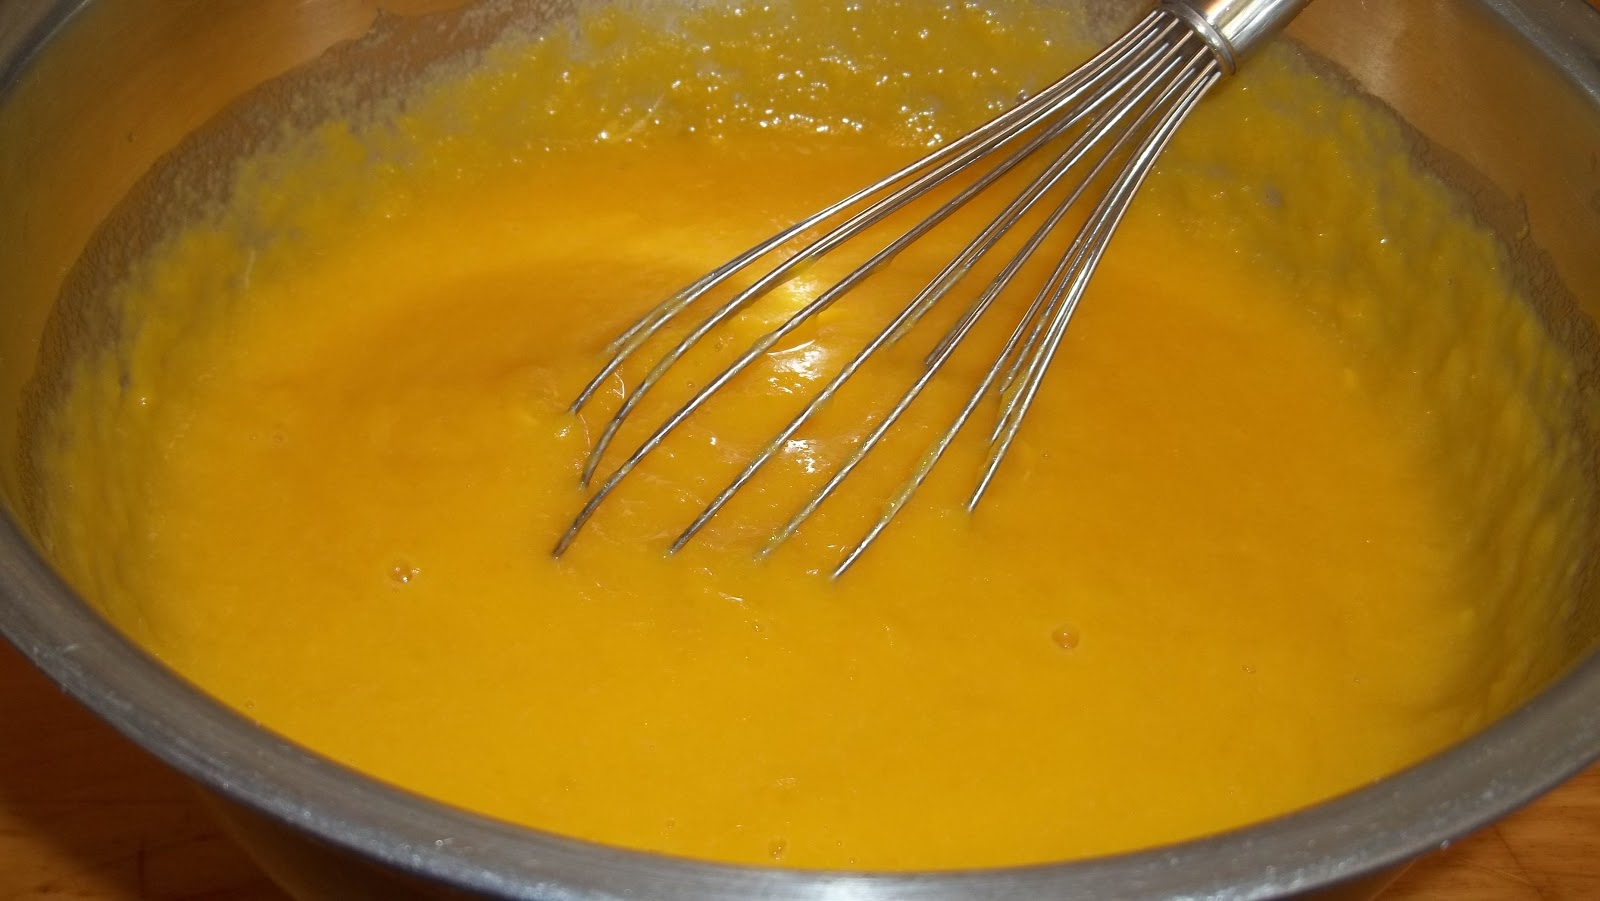
Gravy

1/2 c. butter or drippings
1/2 c. All-purpose flour
1 quart, more or less, of stock or broth or water
Salt and Pepper to taste
Garlic and Onion granules to taste

Melt the butter or drippings and add the flour, stirring constantly until smooth and bubbly.  Don't let it burn.  Gradually add the liquid, stirring constantly.  Keep adding liquid until the right consistency is gained.


I used a large electric frying pan and made a double recipe of the Gravy.  The meat was added and heated through.  Let it stand until cooled, then, freeze in meal-sized containers, for up to 6 months.  Again, be sure to reheat to at least 160 degrees F., before serving.

....Turkey Stock (the continuing saga)

Meanwhile, back at the stove....


where the bones and scraps were merrily simmering....


I poured the stock into a very large bowl, through a collander.


Here's the turkey stock, all ready to go.  I wasn't sure exactly how much I had, but I figured there was about a canner full, which wouldn't be too much trouble.  Frozen broth and stock is fine, but canned in the jar, is so much faster and easier to use.


Fill the quart jars to within 1/2 inch of the top.....


clean the rim and set the lids and rings.....


and place....


in the pressure canner.  Process 25 minutes at 10 pounds pressure.

And Finally, Ta-da!!!  Deviled Turkey for Sandwiches

What to do with the bits of meat left on the bones from which the stock was made?  Pick the meat off and place it in a food processor.  Process until fine, add some mayonnaise and sweet relish for Deviled Turkey Sandwiches.  I made sandwiches right away from half of the bits of meat.  The other half, I froze for future sandwiches.  Before I use it, though, I will heat it to 160 degrees F., to make it safe for my family.  Heat it, cool it, and make the sandwich filling.

Voila!  End of the Turkey!


Wednesday, November 21, 2012

The Pattern Peddlers have Prairie Cottage Corner Patterns Now

Here are some of the Prairie Cottage Corner patterns available now at The Pattern Peddlers:


German Folk Dancers Wall Hanging Pattern


8 Great Potholders Pattern


Christmas Sue Wall Hanging


Christmas or Autumn Wreath

I hope you will stop by The Pattern Peddlers and check them out.

Pumpkin Dessert

I make this dessert and freeze it every year about this time for our upcoming quilt club meetings.  It's a sugar-free recipe but you can make it with sugar if you like.  Just substitute sugar for Splenda in the same amount.


Pumpkin Dessert

1 Yellow Cake Mix
1 c. White Sugar
1 t. Ground Cinnamon
1/2 t. Ground Ginger
1/4 t. Ground Cloves
3 Eggs
1 - 15 oz.can of Pumpkin Puree
1 - 12 oz. can Evaporated Milk
1 c. Chopped Walnuts


I doubled the recipe.


Beat the eggs.....


Add the pumpkin......


Mix well together......

Mix the sugar and spices together.....


and add to the pumpkin mixture with the canned milk.... 


Ladle the mixture into a 9 x 13 inch baking dish or pan.  I'm using two of my oldest, raunchiest tin pans, here....they are quite dark from years of service and brown everything so nicely....but they ARE ugly!


Sprinkle the cake mix evenly over the top of the pumpkin mixture......


Then, drizzle the butter over like this.....


Sprinkle with the nuts and bake for 1 hour in a 350 degree F. oven.


Since I made two of them, I baked them 1 hour and 20 minutes.


Let them cool before serving.  Cut into squares and serve with whipped cream.  This is fun and easy to make, so I hope you will try it.  Everyone I serve it too just loves it!

Tuesday, November 20, 2012

Pie Crust and Pie - Part 2

After the pie dough has rested at least an hour in the refrigerator, roll it out to about 2" larger than your pie plate.


At this point, you can either make your pie, or wrap the dough for storage.  If you want to store the dough until you are ready to use it, roll it onto your rolling pin and, then, roll it out onto a piece of parchment paper.


Then, roll up the parchment.....


wrap it in plastic wrap or foil and store it in the freezer  (up to 6 months) or refrigerator (2 weeks).  If you choose to make your pie, now.....


Place the dough in the pie plate, being careful not to stretch or tear it.  If you tear a hole in it, just patch it with another piece of dough, wetting the edges of the patch a little to help it stick.  Turn the extra dough under, if you like a thick rim (or trim it off, if you don't).


I like a large rim on the pie.....


and make the scalloped edge using both hands (which I cannot show you in one picture because I have to hold the silly camera)....pushing my left index finger from the center out over the edge.....


against my (floured) thumb and forefinger on the right hand.


To make the filling for 2 pies, mix 1 1/2 c. white sugar, 2 t. cinnamon, 1 t. ginger and 1/2 t. cloves together well.


Set the sugar mixture aside.


Lightly beat.....


four eggs and.....


add the pumpkin (1 large can or 30 oz.).....


mix the eggs and pumpkin together well.


Add the sugar mixture......


and mix well.  Then.....


add 2 cans evaporated milk.....


stirring together well.


Ladle the pumpkin filling into the pie shell.....


and bake at 425 degrees F. for 15 minutes.  Then, turn down the oven to 350 and bake for another 40 to 50 minutes.


Pies are done when a knife inserted near the center comes out clean.  Remove them from the oven and let them cool two hours before serving.  Best served with Cool Whip or whipped cream.

So, our pies are ready for the big day on Thursday.  They will be kept covered and refrigerated until then.