
Beans are a wonderful thing. I always have dried beans (Navy, black, pinto, kidney) as well as peas such as split and lentils, on hand. However, I don't use them up quick enough and, because they're dry and take a while to cook, I don't use them often enough.
So, browsing through my BALL BLUE BOOK yesterday, I found a recipe for canning dried beans and decided to try it. I want to can black, navy, and pinto beans, as well as some lentils. I decided to try the black beans first. They're one of my favorites. Using the recipe in the book as a guide, here are the amounts I used
Canned Black Beans
6 c. dried black beans, rinsed and picked over
cold water to cover
Place the beans in a large stock pot and allow to soak in a cool place for 12 to 18 hours. Then, drain and cover, again, with cold water to 3 inches above the beans, bring to a simmer and cook for 20 minutes. Meanwhile, assemble the canning supplies: jar lifter, slotted spoon, rings for 7 quart jars, canning funnel.....

be sure the slotted spoon is a large one.....

and that you have a soup ladle on hand......

with lids all washed and waiting in a pan of hot water.....

wash your jars and check the rims for soundness (no nicks). Then put them in a warm oven (about 200 degrees F.) on their sides and keep them warm until ready to fill

To get them out of the oven, insert a long wooden spoon as shown and lift them to your work space, using some....

.....oven mitts to handle them safely.....

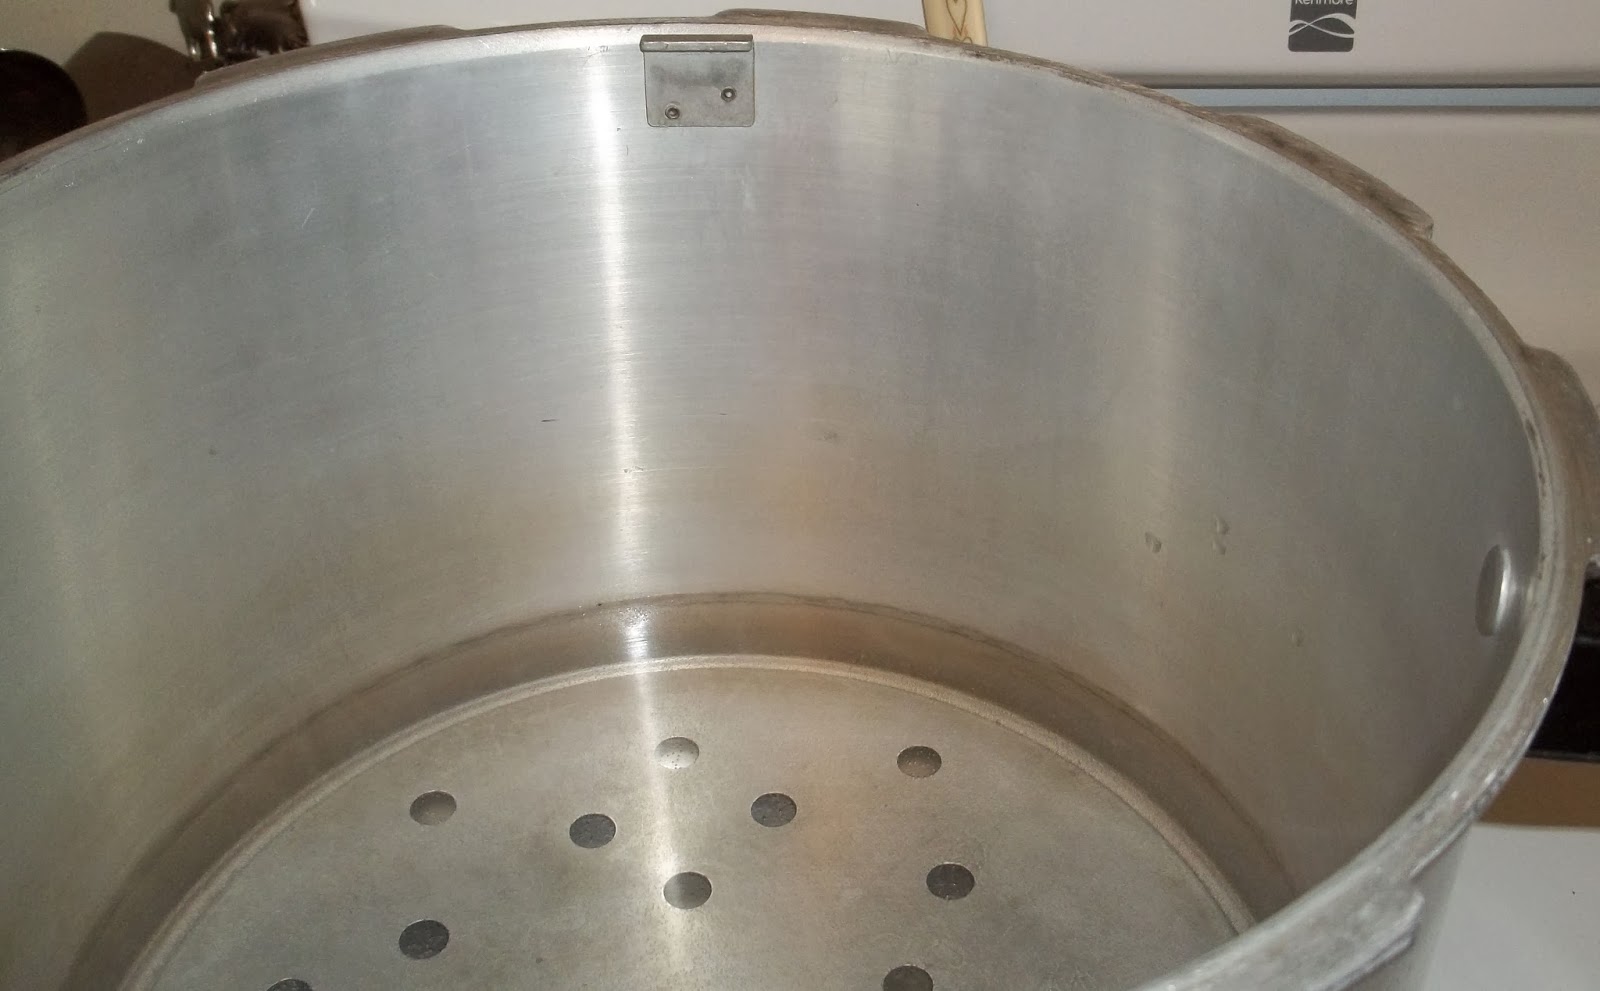
.....fill your pressure canner to about 2" with water and a splash of white vinegar and put it on medium heat to warm up.....with the lid off......
Prepare another soup pot with about 1 1/2 gallons of water, 3 t. pickling salt, 3 t. onion granules and 3 t. garlic granules. Stir well and heat to simmering.

When the beans have simmered for 20 minutes, remove them, the hot seasoned water and all the supplies to your work space.

Place a jar on the plate with the funnel in place.

Place heaping slotted spoonsful of beans into the jar to about 1/2 full.

Like this.....

then, ladle in hot seasoned water to within 1" of the top of the jar....


like this......

....run a butter knife around to release air bubbles and adjust the level of the seasoned water.

With a clean, wet dishcloth, wipe the rim and the threads so they are clean. Debris will interfere with the seal.

Place the lid on the jar.

Place the ring on the jar and tighten firmly by hand.

Put the jar in the canner.

Repeat until all the jars are filled and in the canner. This batch made 7 quarts of beans. With the petcock (on the left) and pressure gauge on the lid; and the rubber gasket inside, in place, turn the burner to medium high and begin to raise the pressure. Quarts of dried beans need to be cooked at 10 pounds pressure for 90 minutes.

Watch the gauge very carefully. If there are small children about, process these jars on the back burner of the stove and do not leave the canner unattended at any time for any reason. When the safety valve closes on the canner lid, the pressure will, quite smoothly, raise to 10 pounds. Because we are at about 1500 feet above sea level, I usually send the pressure up to about 12 to 14 pounds. You can check online for pressure per your local altitude.

It's a bit of a juggling act, turning the burner up and down to achieve an even, steady pressure. I bring my hand sewing into the kitchen and do that while I'm watching and adjusting the gauge.

I let the canner cool for about an hour before opening it. Don't be in a hurry. It's safer when the jars are cooler. Even so, they will still be boiling inside. Here they are sitting on the stove after being cooked. They're grungy looking but I'm not touching them until tomorrow morning, when I'll put them in a warm, soapy water bath in the sink, remove the rings, wash and rinse them gently and set them to dry on the drain board. Then, I'll label the lids and send them downstairs to the food room.

I'll let you know how they taste when I get to use them. I'm thinking I could fill the jars fuller without worrying about them popping out the top as they swell during cooking. What do you think? I was conservative and filled them about 1/2 full but think I'll try them at 2/3 full next time.
So, next morning, into the bath they go.....

....all clean and dry.....

....I have plans for one of these jars this week.

To be safe, be sure to boil your home canned beans about 5 minutes in an open pot before using them.
Oh gosh - thanks so much for the primer on beans - especially using your pressure canner, Kathie! I have one and am very intimidated by it so I usually go to the trouble of the plain canner! As soon as I get the "yes, they taste terrific" from you, I know what I'll be doing!
ReplyDeleteCheers!
Great tutorial. Canning scares me, but it would sure be nice to have some bottled beans on hand. Those sausages down below are calling my name right now!
ReplyDelete