
I made my samples from my stash of "Starters and Stoppers". Follow the link to learn about starters and stoppers. Anyway, that's why the samples in the pictures are all different. I was making up samples for a presentation at our quilt guild and wanted the pieces to show at each stage of the project.

Stuff you need, beside your sewing machine:
Scissors
Sewing Needle
Pins
Thread
Rotary Cutter
Thimble
Knitting Needle
Poly-Fill
Ruler
8 – 2 ½” Squares,
4 Lights and 4 Darks
Cutting Mat

Lay out your squares
the way you would like them to be for the top and the bottom of the pin
cushion. Pick them up in the order you want to sew them, right sides together with the side to be sewn to the right. You don't need to pin these. After you sew the singles together, you will be ready to sew the pairs to pairs. All seams are ¼”. Check the setting of your sewing machine needle and foot to be sure it will stitch ¼” from the edge of the fabric.

Make the seams
interlocking. You can feel with your
fingers when you have them just right.

Pick them up in order and chain piece them on the sewing machine. Here, I've cut off the end starters and stoppers but left one in the middle. I'll clip these apart, tossing the blue patch into the stash for future use.

Pin the seams. Sew slowly, removing pins as you go. Don’t sew over pins.
When you press,
flatten, don’t pull or stretch. (In garment
sewing, we press seams open; in quilt sewing, press seams to the side to avoid
bearding.) Press the seams to the dark
side, then stitch the additional pair of squares to the bottoms of each pair to
make two blocks.
Press the seams in
opposite directions, side to side.

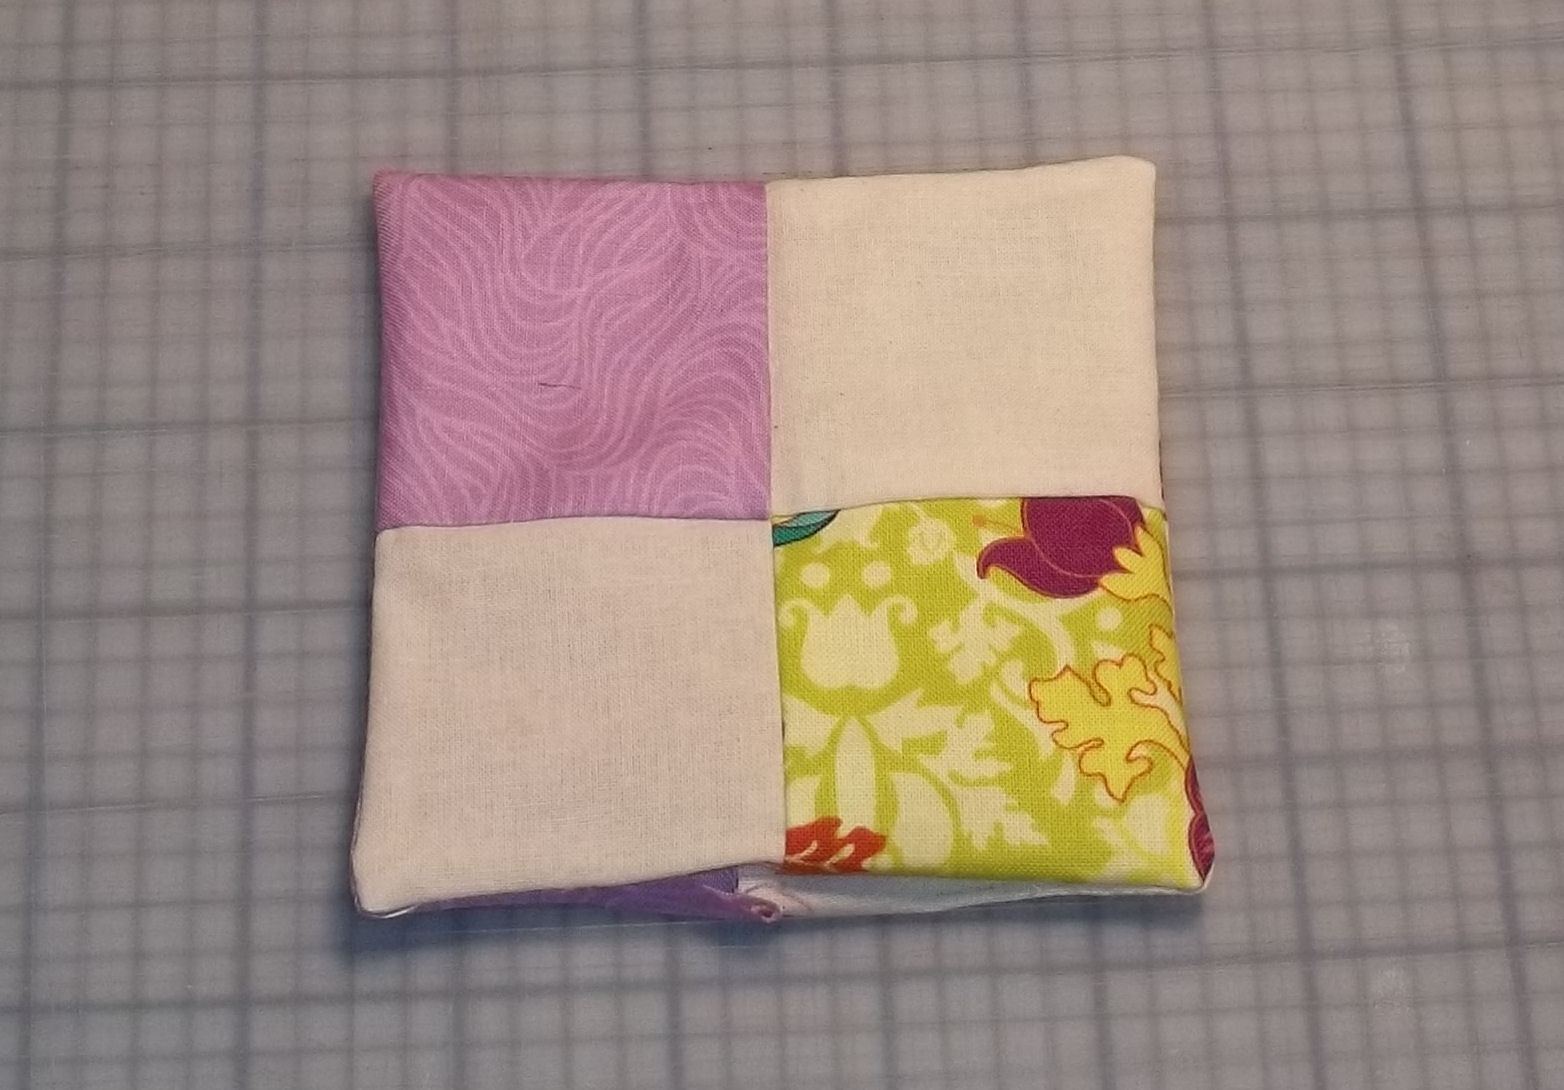
Square your blocks by trimming the edges to be square and straight. Notice the block is straight along the "7" line and a small bit of the white patch is showing at the bottom, ready to be cut off with the rotary cutter.

Place the blocks
right sides together and stitch all around, leaving about 2” open in the middle
of one side. Back stitch at the start and finish because the opening is a stress point. Press it.
Clip the corners and
turn the piece right side out, poking out the corners,
GENTLY, with the
knitting needle point. Press it. Now stuff it with poly-fill or batting...anything you like. Someone suggested unraveled wool yarn or raw, washed sheep's wool. They said it will keep your pins and needles clean and sharp. I'll have to try that one.

Voila! You're almost all done. I mean, you may want to add a "fuzzie" velcro to the bottom of it to stick to the "hookie" velcro patches you have around.....I have them on the top of my machines and by my ironing board so I can save pins and needles easily, one-handed.
Or, tack a loop of ribbon to one corner and and hang it up. You can stab a pin or needle into it very easily so it's a great cushion for catching pins you remove as you sew.

