One of the girls wanted to make some quick door hanging decorations for patients in our local nursing home.
I decided that the two-sided-fusible-web-windowing-technique would be just the thing. So here goes.....
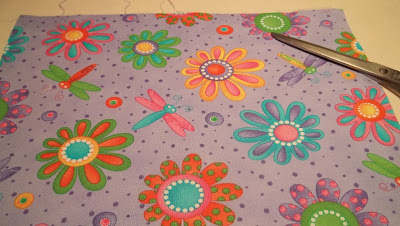
I picked out a section of the fabric, Spring Fling, that would allow me to collect 7 flowers and 3 dragonflies.
I ironed the 2-sided fusible web to the back of the fabric.
Then, rough cut the parts I wanted in my door hanging.
Like this.....
Then, I cut carefully around on the outside edge.
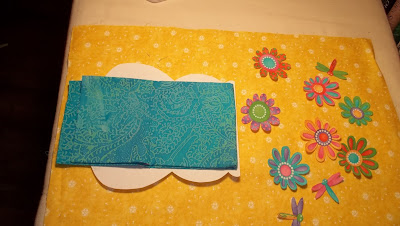
I laid them out on the background, which was 12 1/2' x 18 1/2", and designed a vase to go with them, using plain copy paper.
I made the vase, by folding the paper, first, then drawing the shape and cutting it out while it was folded so it would be symmetrical.
I tried some different fabrics with the flowers for the vase and decided on this tonal batik piece I had in my stash.
I folded the fusible web and rough cut the shape about 3/8 inch away from the line traced from my pattern. I cut out the "arm holes" on the actual lined edge.
Then, to "WINDOW" the shape, I cut out the center about 1/4" inside the traced line.
I laid it on the wrong side of the batik and fused it with a hot dry iron - about 5-8 seconds.
Then, I cut it out on the traced line of the outside edge of the shape.
Looks about the right size. I cut out the "arm holes".....
....and removed the paper backing from all the shapes I had made so far....
....and laid them out on the background.
I drew shapes of stems and leaves on the paper side of the fusible and fused it to the wrong side of the green fabric.
All the elements......
were ready.
I began to lay them out on the background for the last time.
Everything's on there except the dragonflies. I went ahead and ironed everything in place....then, added the dragon flies......and fused them, too.
All done! Wasn't that fun? It took about an hour and thirty minutes. All I have left to do is to cut the backing, sew it to the piece, right sides together, leaving a turn-out space at the bottom; turn it inside out, press, and blind stitch the turn-out space shut.


